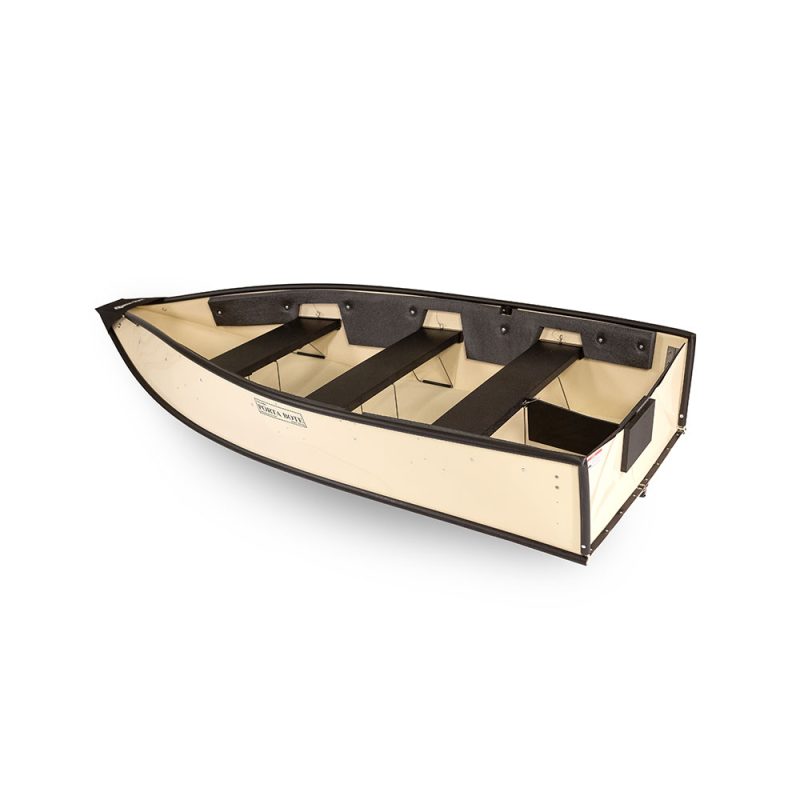
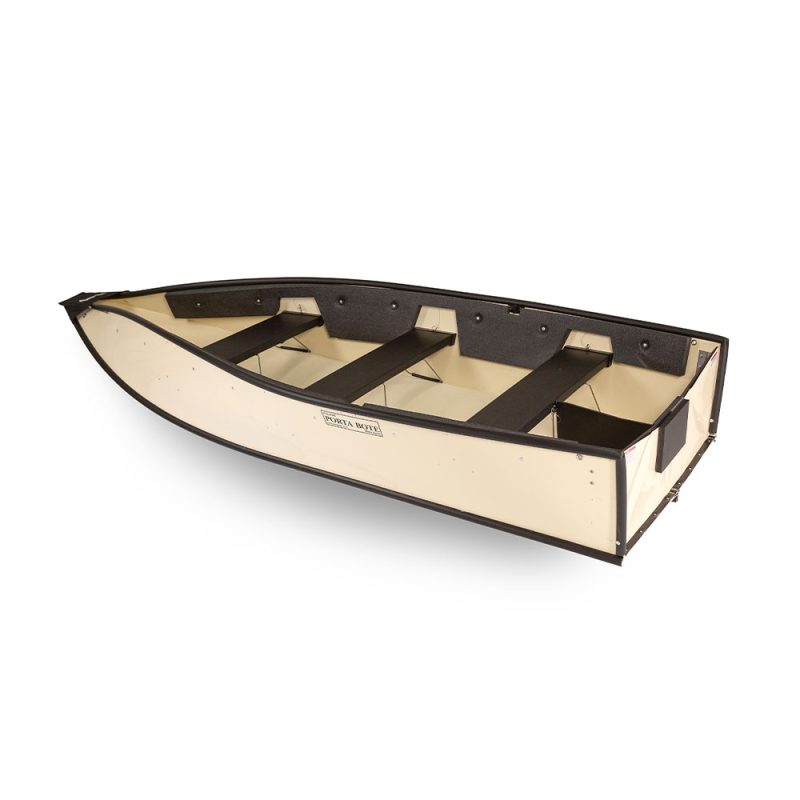
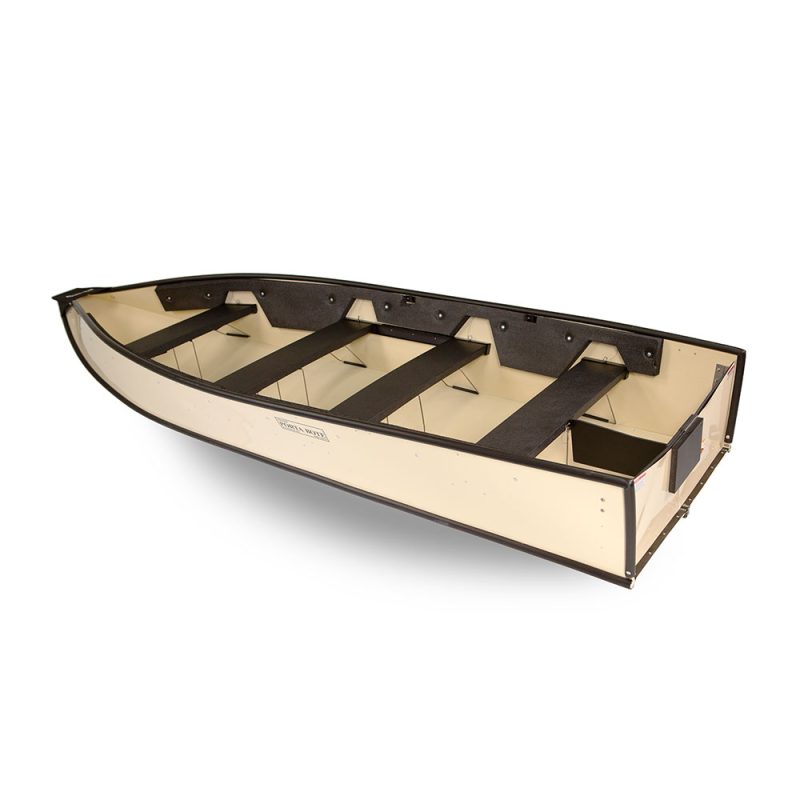
FOLDS FLAT IN SECONDS
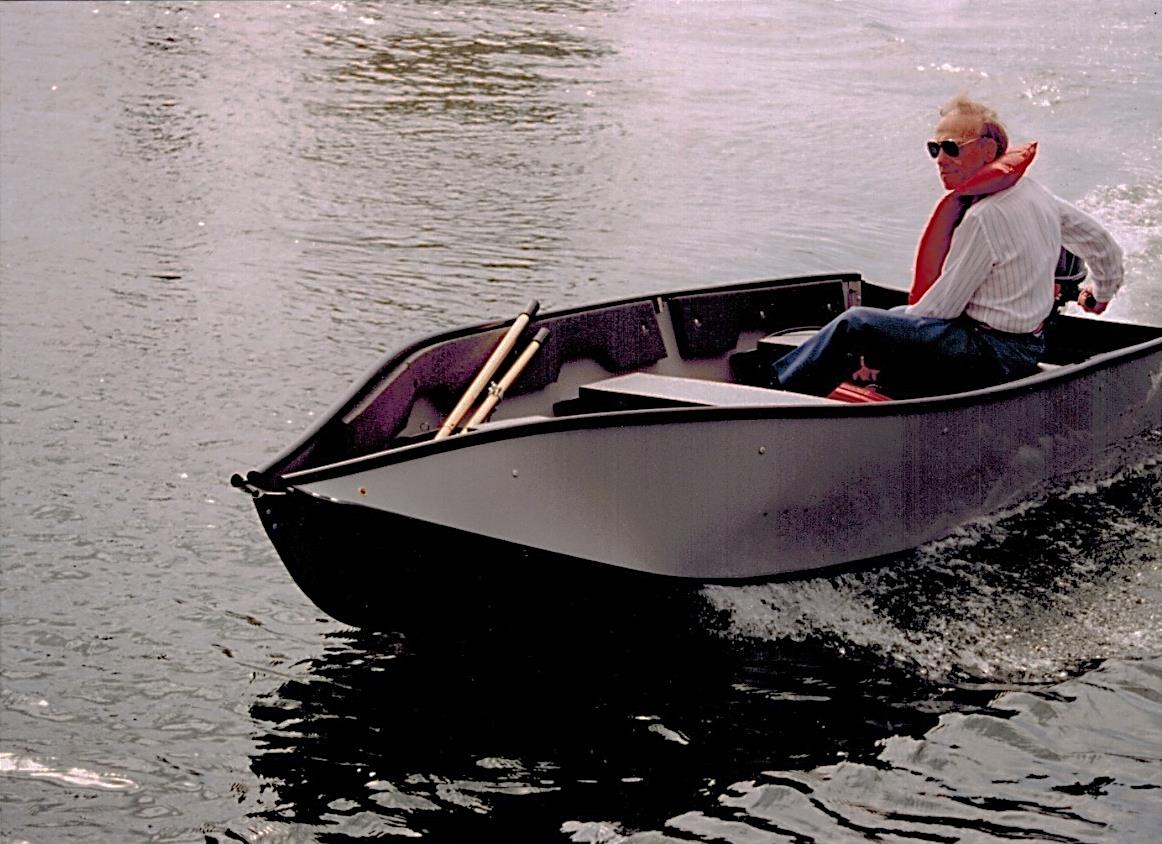
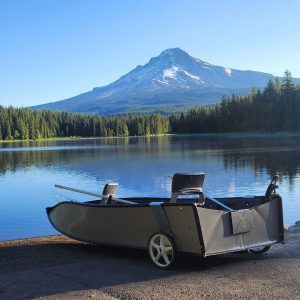
The revolutionary folding boat designed to make your outdoor adventures easier and more exciting than ever. With its innovative foldable design, this boat is incredibly portable and convenient, allowing you to take it anywhere your adventure takes you.
SHOP BOATS
WE OFFER 4 SIZES AND 3 DIFFERENT COLORS TO SUIT YOUR OWN TASTE AND STYLE

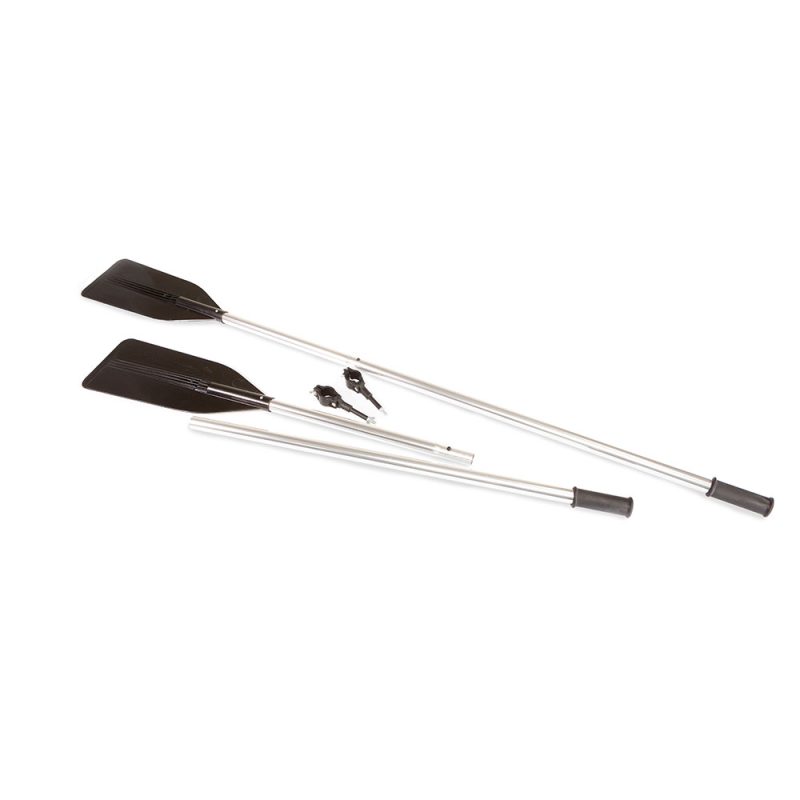
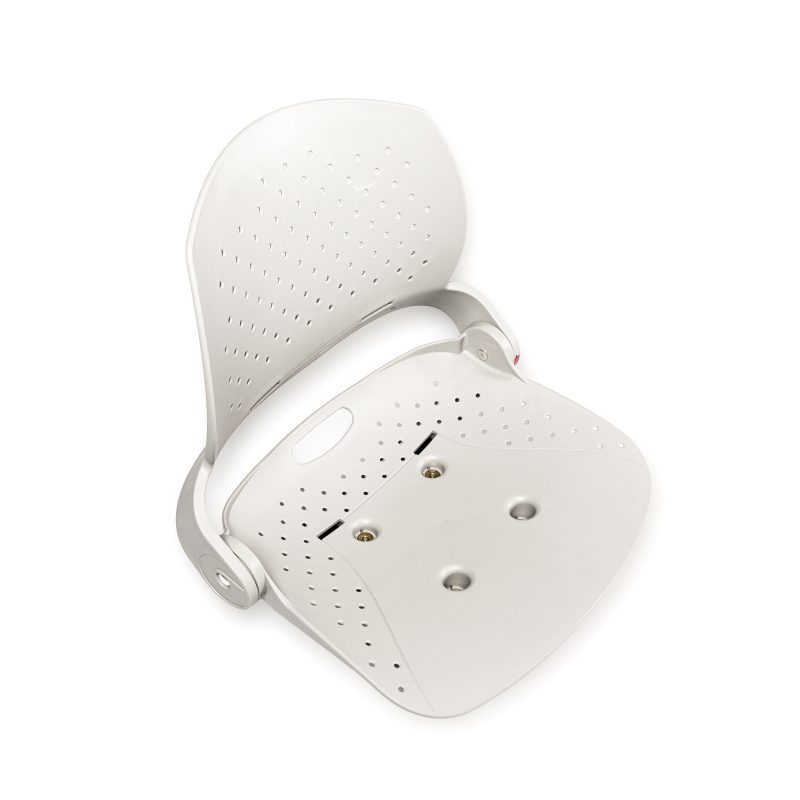
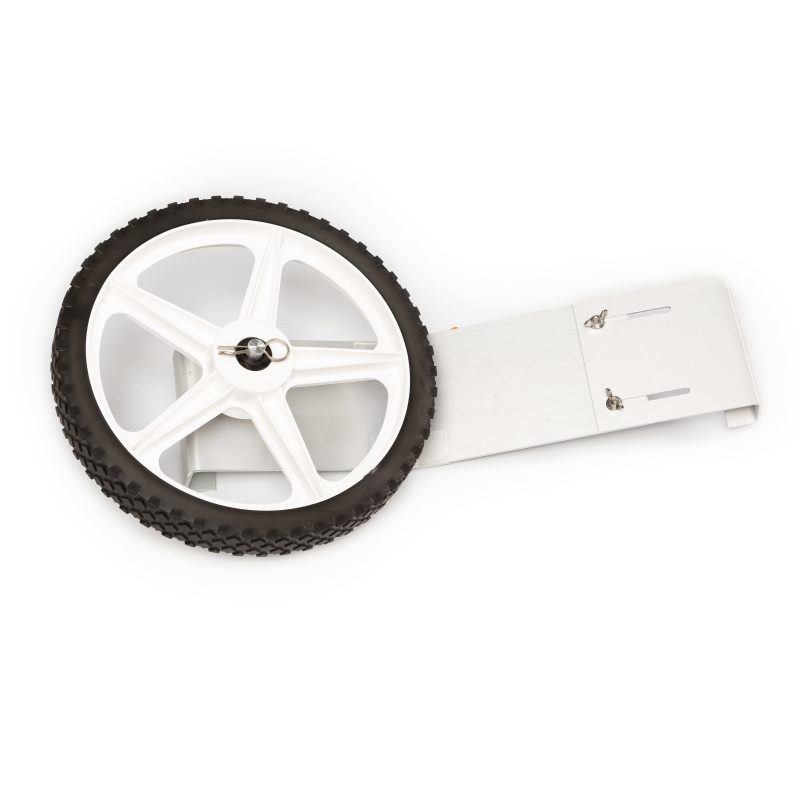
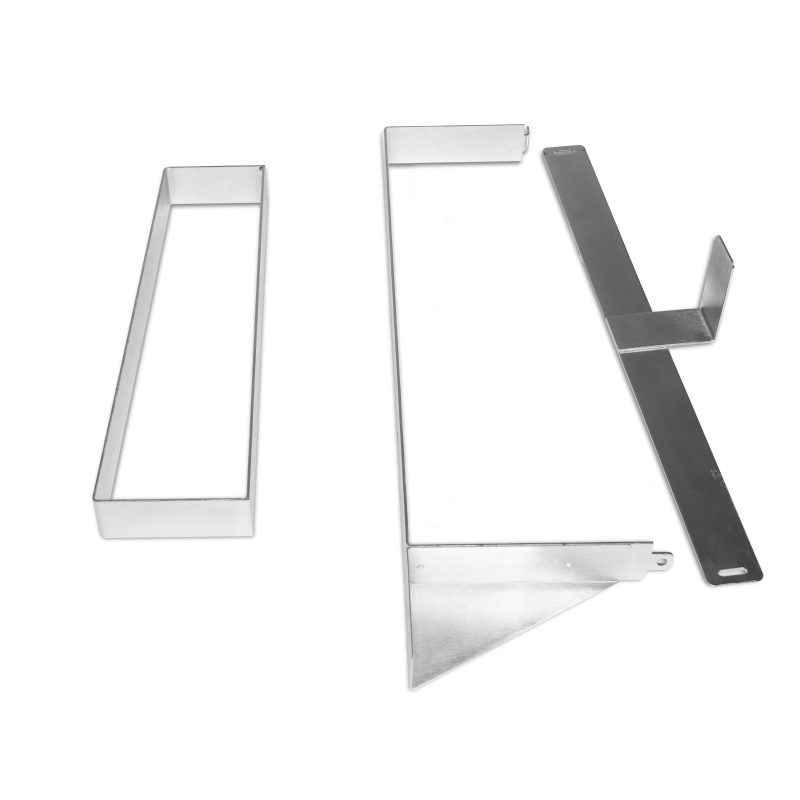
SHOP ACCESORIES
ATTACHMENTS AND ADD-ONS TO ENCHANCE YOUR PORTABOTE EXPERIENCE

With sad hearts we say goodbye to our dear friend Sandy Kaye, President and Founder of Porta-Bote International. For over 50 years Sandy was at the helm of Porta-Bote International, working tirelessly day and night for the company he loved so much. After several years and countless hours of hard work Sandy’s dream came true. He built a successful global company, a company that made him proud, a company that he loved and dedicated his life to. As we carry on with Sandy’s dream, we say farewell to our ol’ friend. May God bless you and keep you near him. Cheers to a life well lived.
Sandy passed December 30,2023 at age 87 years old.

NEWS, EVENTS & MORE


PORTABOTE GLOBAL

Shipping Worldwide

Trusted Worldwide
Follow Our Adventure Through Social Media


HANDMADE IN THE USA
10-Year Limited Hull Warranty
This boat surpasses the toughness of other options and is particularly advantageous compared to inflatables. It boasts a time-proven hull that delivers performance equivalent to an aluminum boat while weighing less than half. With over 200,000 satisfied Portabote owners worldwide, you can join the ranks of those who appreciate the "instant fun" that only a Portabote can provide.